EPCOT Food and Wine Festival 2015

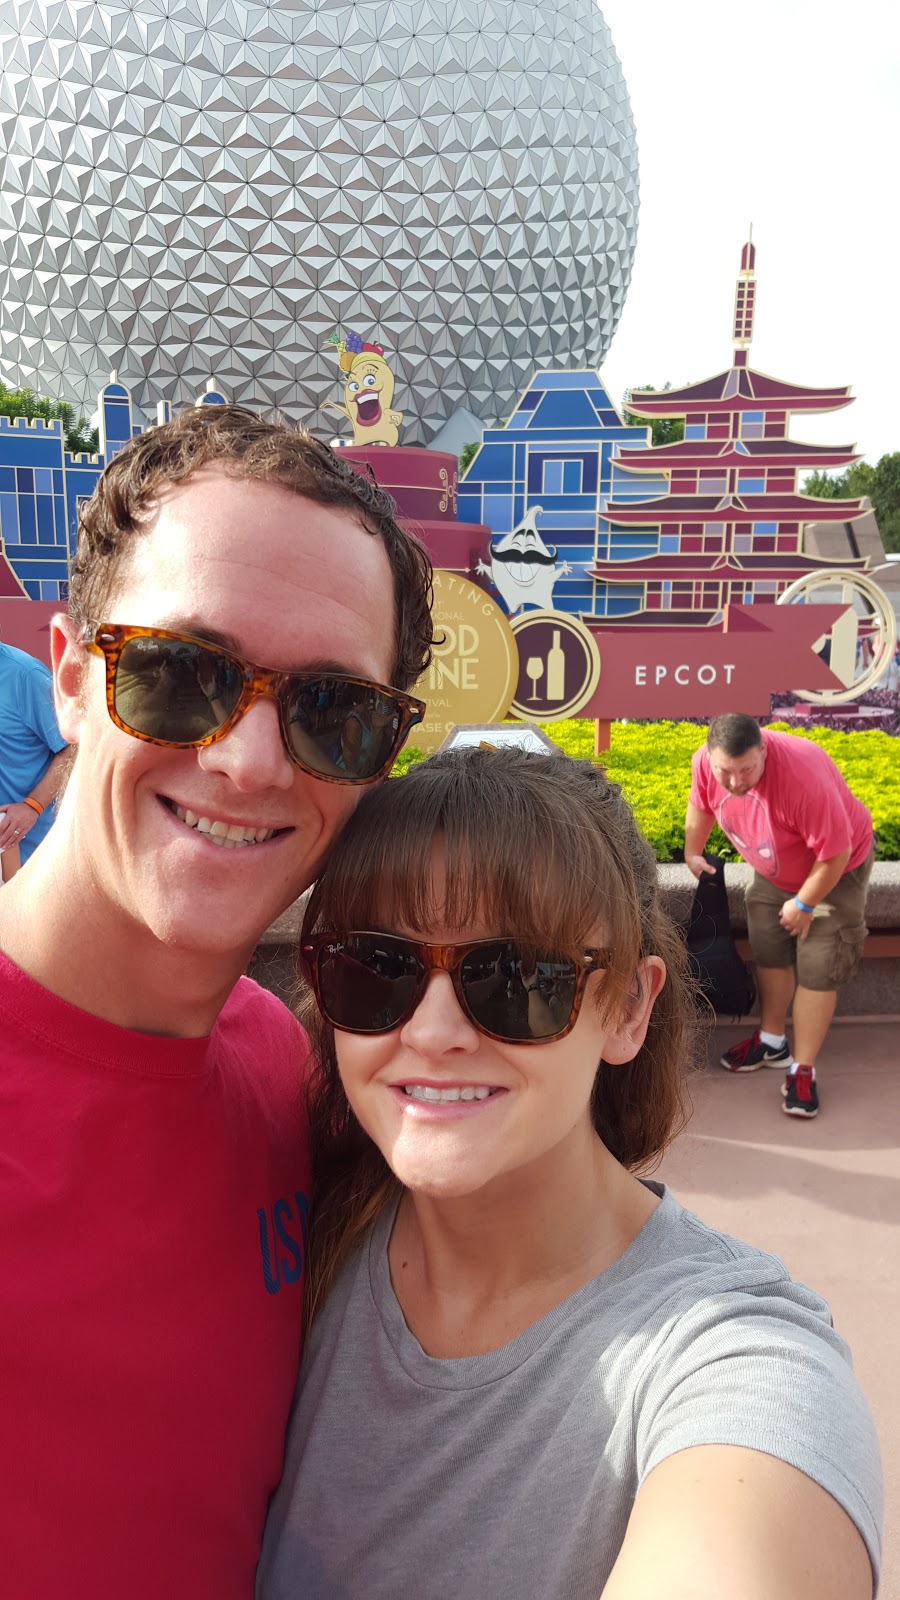
This year's Epcot Food and Wine Festival did not disappoint! We had some great food that we were able to enjoy with 500,000 of our closest friends. Ok, not quite. But the festival definitely is popular! We recommend that you visit on a weekday, if at all possible. But any time you get to go to Epcot is a good day! These are just a few of the wonderful treats that the festival had to offer this year.


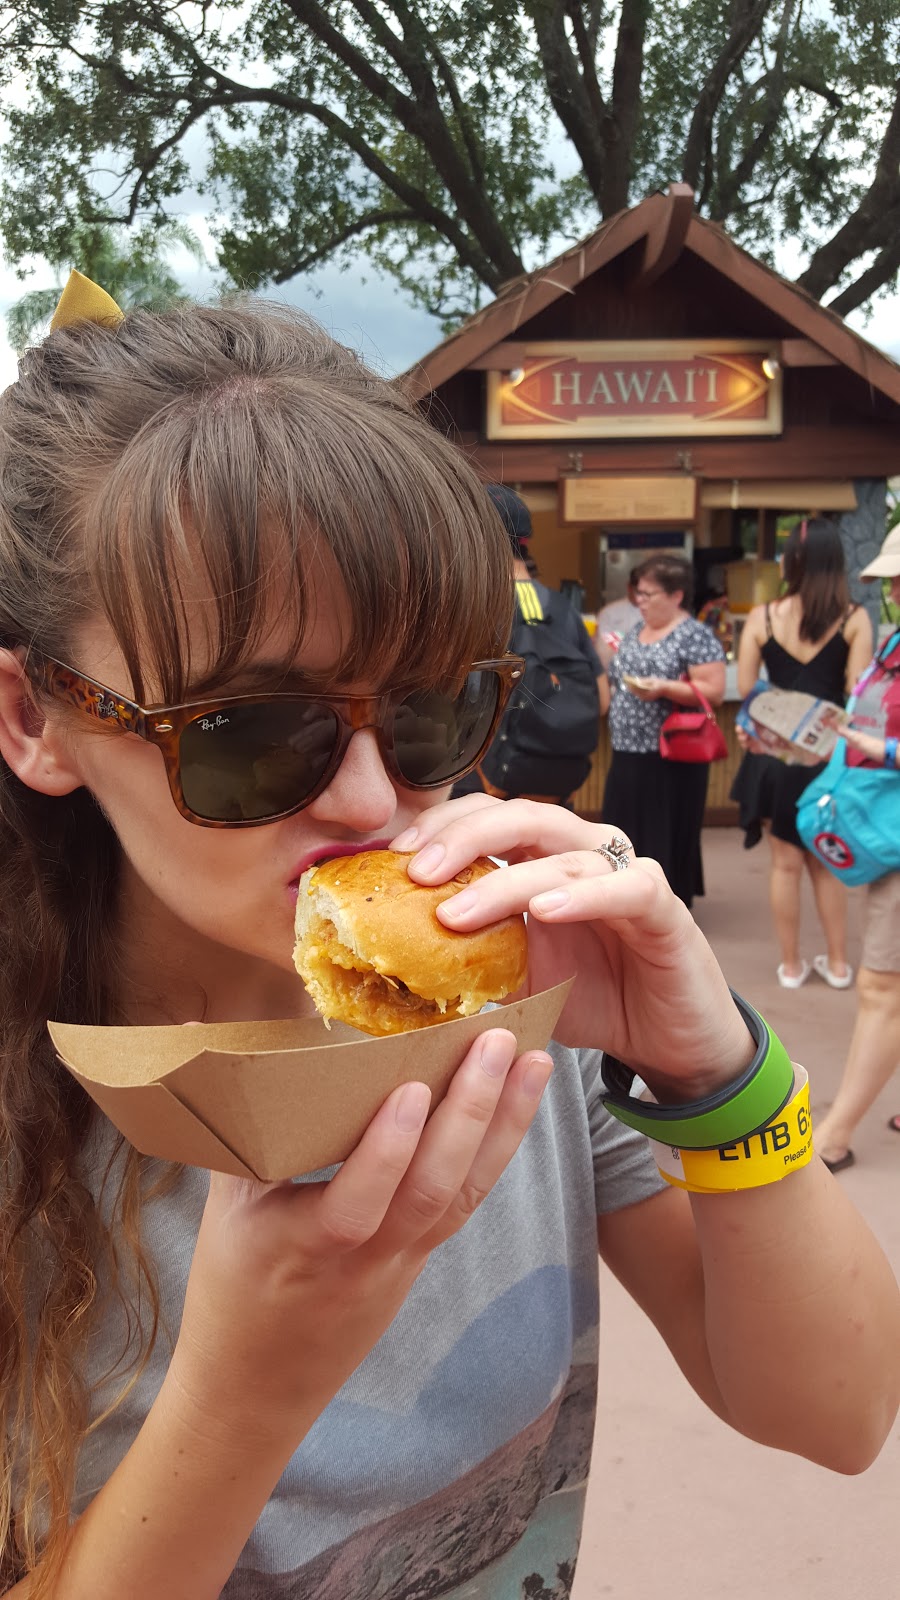
Kalua Pork Sliders in Hawaii-- One of our favorites.

Potato pancake with smoked salmon in Scotland

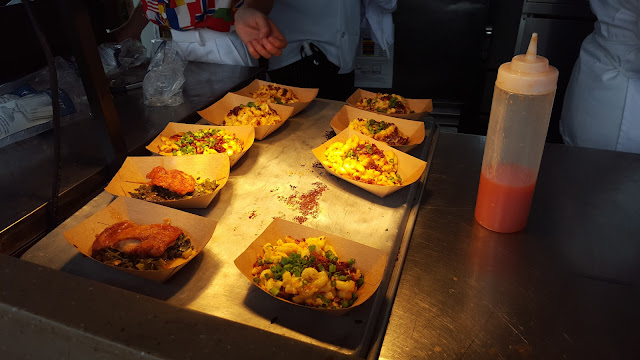
 Loaded Mac & Cheese at Farm Fresh.


We stopped to say goodbye to Duffy. One of his last appearances in Epcot!


Teriyaki gyoza bun in Japan


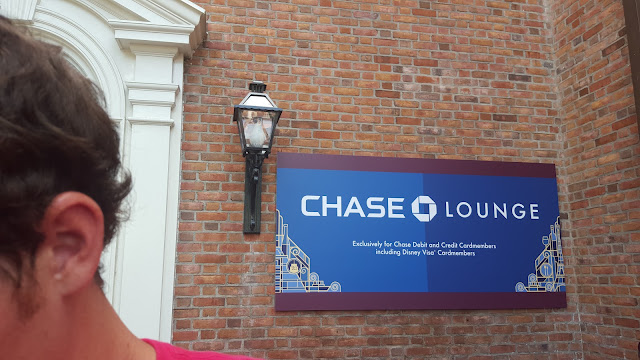
If you are a Chase card member, don't miss the Chase lounge in the America pavilion! Unlimited, free soda and air conditioning. We took a little intermission and hung out in the lounge for an hour or so.


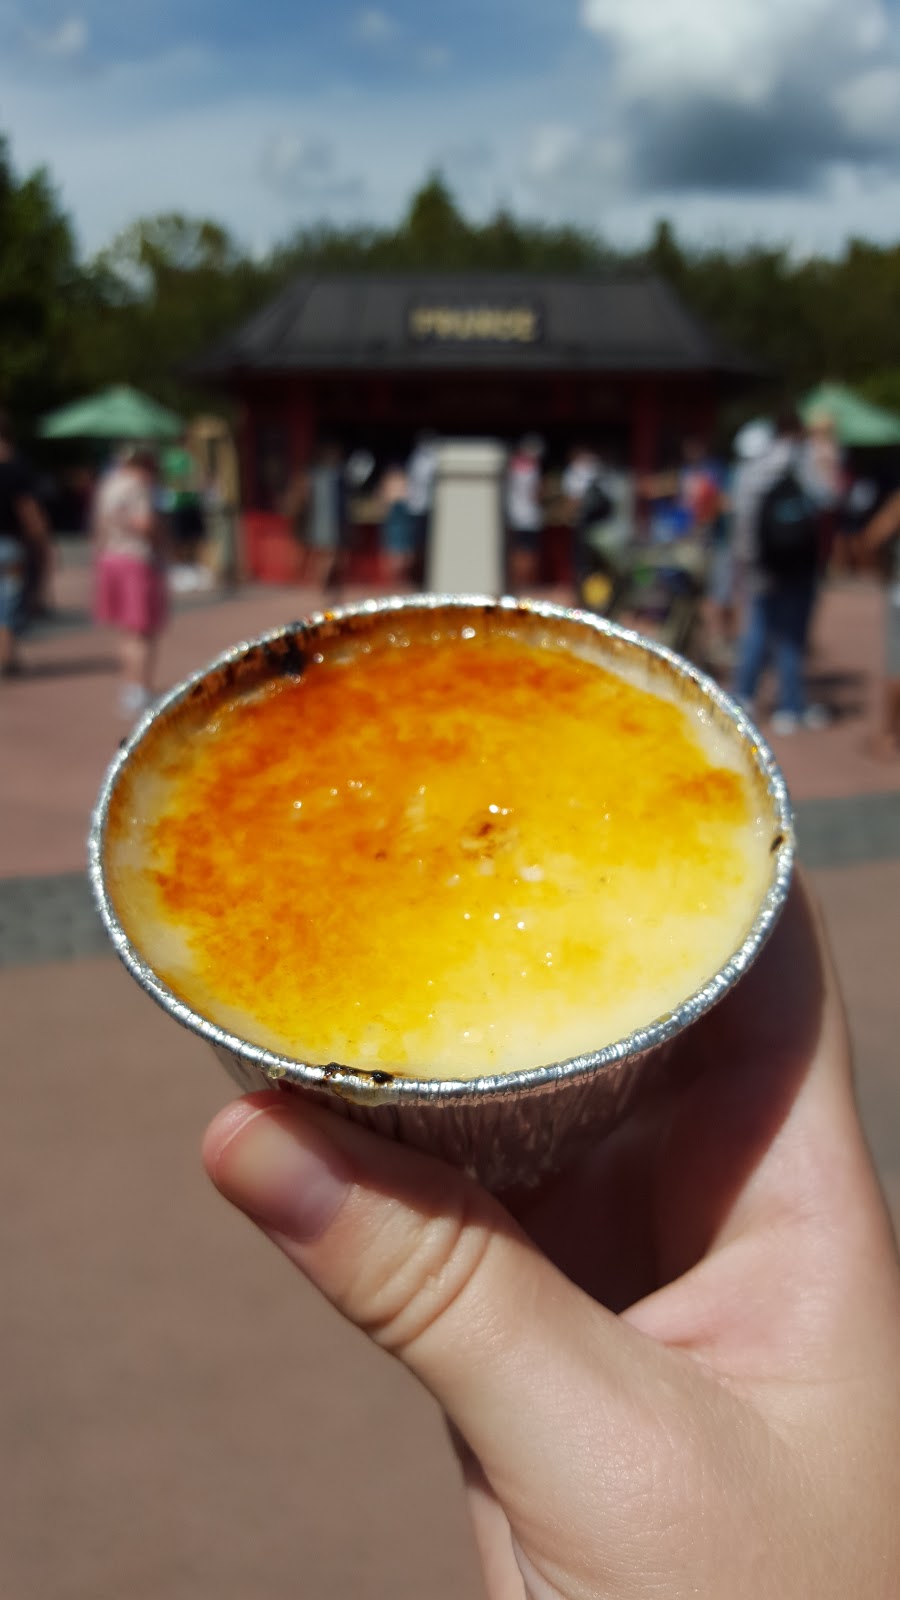
 Creme brulee in France


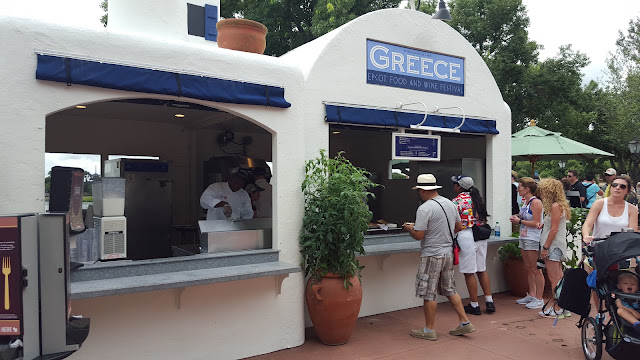
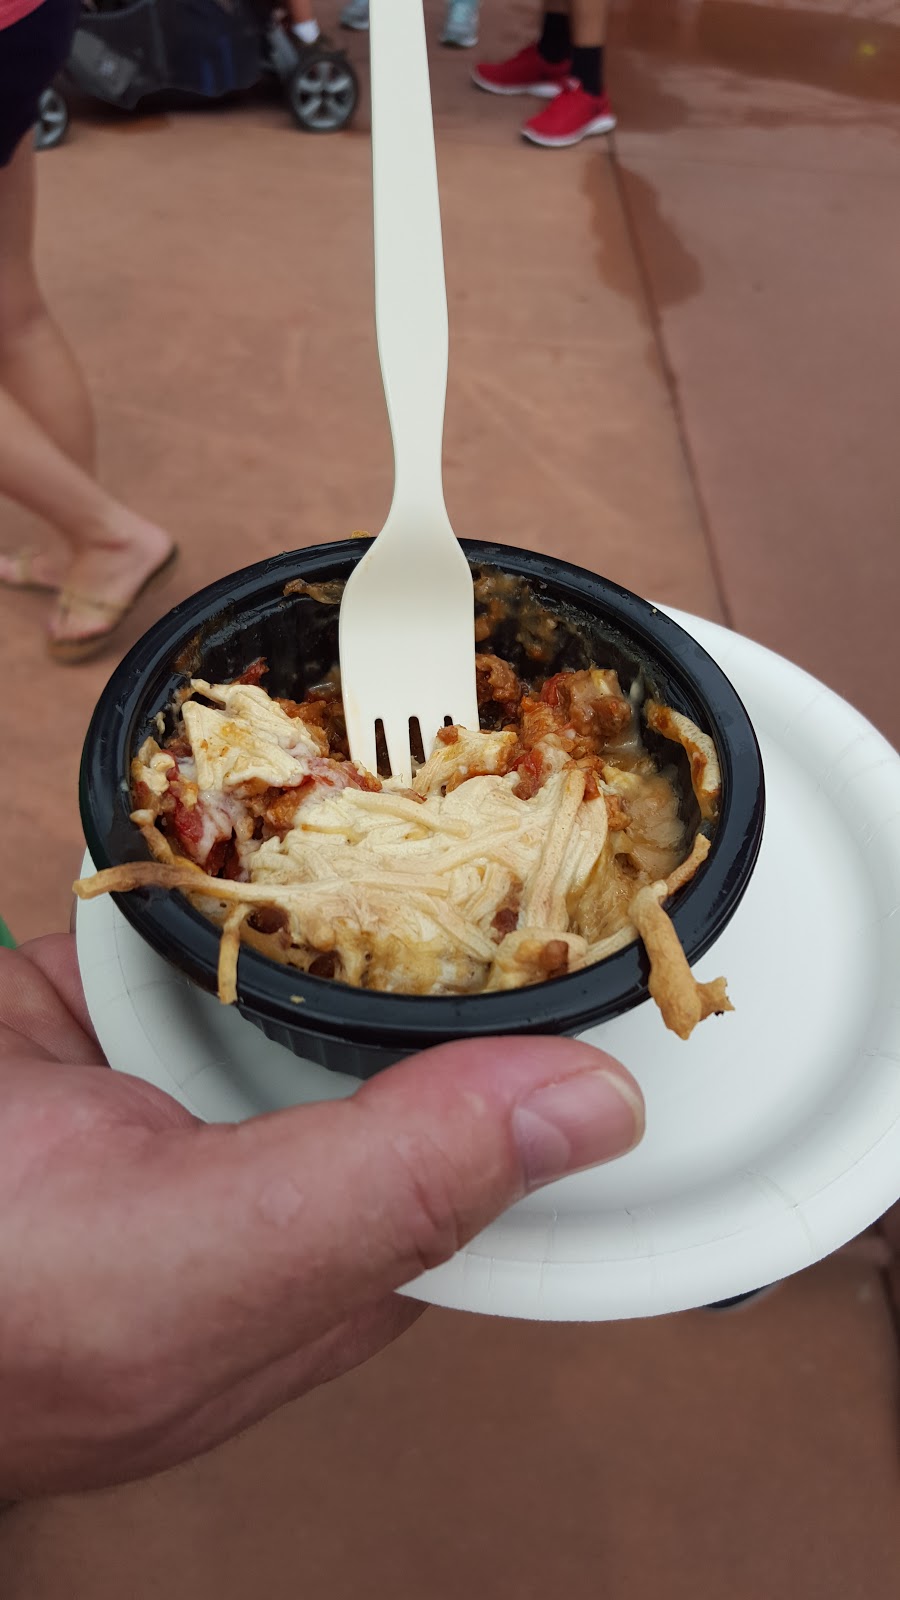
Vegetarian Moussaka in Greece. Dad's latest fad is no meat, so we had to try this one. (As for me, I'll stick to the beef).


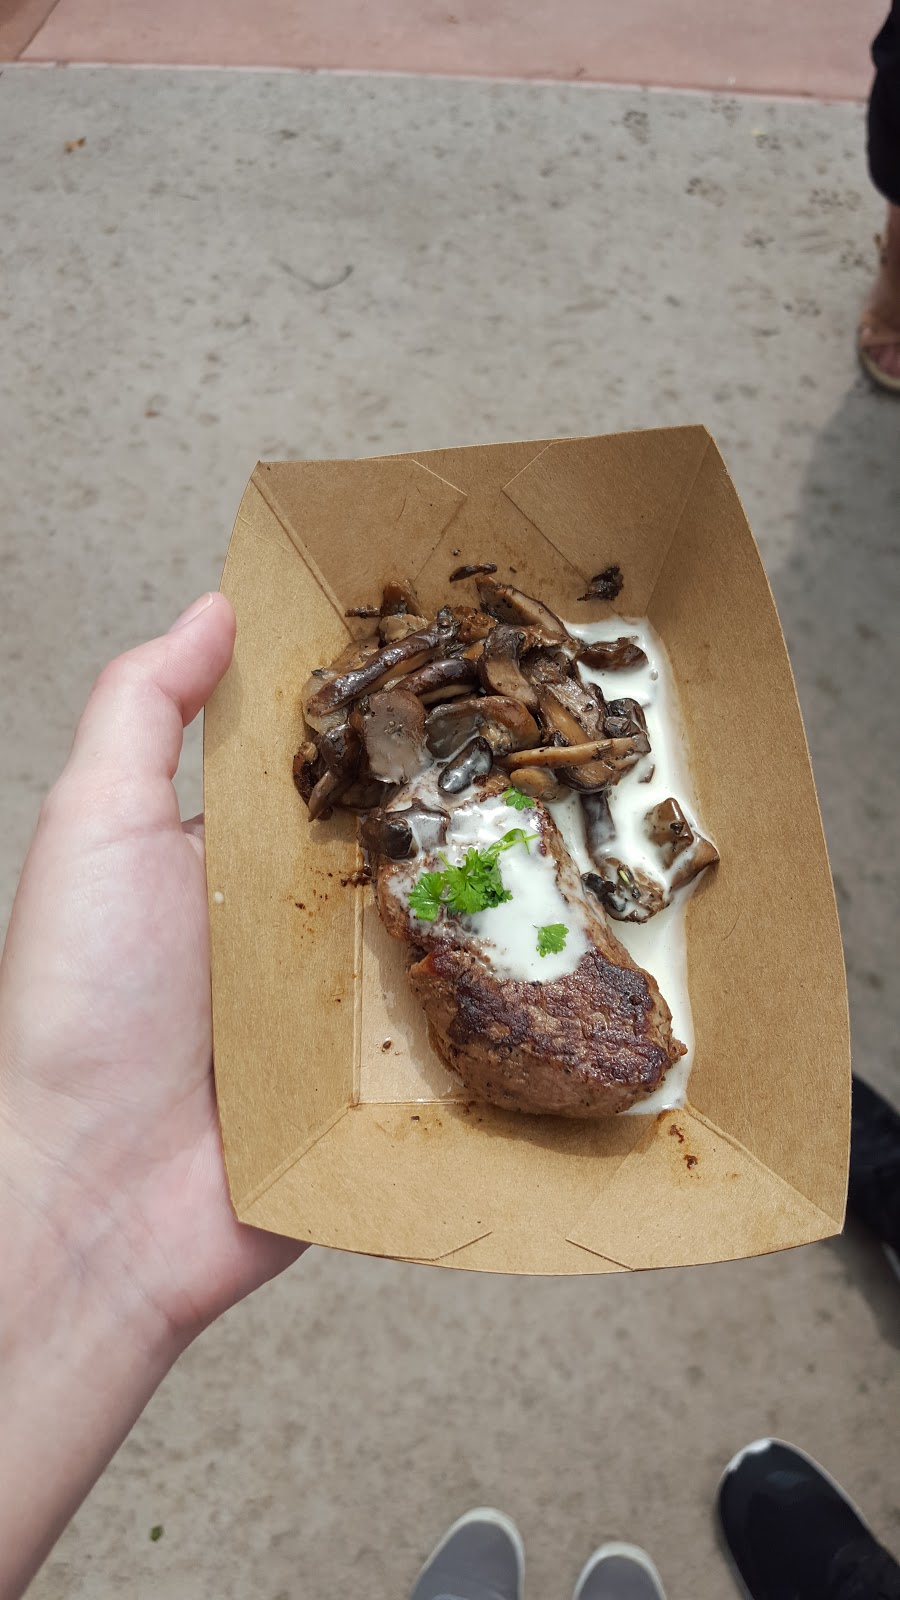
Speaking of beef: Filet Mignon in Canada


DIY Dining Room Table


When we picked up and moved across the country for dental school, we left our awful little college apartment dining set behind. It. was. bad. It was one of those small, square ones where if you had four people sitting there you were all awkwardly playing footsy with each other. So when we moved to our new place in Florida, we decided we needed to upgrade. However, anyone who knows me well knows that I tend to have trouble making a decision. So we spent a few weeks eating on our kitchen floor while I was deciding what I wanted... Suuuuper great memory. But not something we wanted to continue for the long-term. I searched long and hard, but I couldn't find anything that I liked (oh, unless I was allowed to spend $2,000 -- which I was not). After our desk tutorial a little while back, I was feeling ready to conquer the world. So, with only a sander and some wood stain, I decided that we were going to give the DIY thing another try. I started (as always) by doing my Pinterest research. After finding a wonderful tutorial on A Beautiful Mess, I was in love. And that was the table we were making. And Mike had to figure out to make it happen. Marriage is the best.

We went to Home Depot and bought six wood planks. We used pine because that is what the guy at Home Depot told us to use. Honestly though, he could have told us anything and we would have believed him. We are very novice DIY-ers.  But it ended up working out pretty well. No complaints so far. Thanks guy at Home Depot!

So after picking out the straightest six boards we could find (I recommend testing them all out right there in the wood aisle smack in the middle of the store), we went and got a few long pieces of wood for the table frame/border and the structural support underneath. We got those few pieces cut to the dimensions that Mike had measured and we were set! We picked up a can of special walnut stain and a can of polyurethane on our way out, and we were on our way.

We used only screws to keep everything together, no glue. After screwing all of the boards and frame pieces together, we sanded for a million years. And then we proceeded to put on literally a million layers of stain and polyurethane. We did all of this in our garage. A little ghetto? Yes. But we were able to get the job done. We ordered the legs from hairpinlegs.com, screwed them in and viola! We had ourselves a table.


http://www.amazon.com/gp/product/B00IKWTLCS/ref=as_li_tl?ie=UTF8&camp=1789&creative=390957&creativeASIN=B00IKWTLCS&linkCode=as2&tag=infiniampers-20&linkId=X2R7LBZRUPC4J62HChairs and rug from Amazon. 

A closeup of the beginnings of our gallery wall. Still a work in progress.


http://www.amazon.com/gp/product/B001003F9M/ref=as_li_tl?ie=UTF8&camp=1789&creative=390957&creativeASIN=B001003F9M&linkCode=as2&tag=infiniampers-20&linkId=TADEY2PL43APBH3N
I am in love with this stain. Minwax Special Walnut.


Homemade Margherita Pizza


When I was in France, my favorite thing to eat was frozen margherita pizza. Ok maybe not my favorite thing, but let's say this was a thing that I enjoyed eating because it was delicious and only cost 1 euro. I've been craving it since being home, and now that we have a large basil plant in our backyard I finally got my wish.

Here is how we recreated this lovely dish:

First: Pizza Dough

We use this recipe given to us by our neighbor who is famous in our family for being an awesome cook. Whenever I'm at this neighbor's house, she always offers me food, so I find excuses to go there all the time. Believe me, you can trust this recipe!


 ***Don't worry about the note that says "over." On the back, there is just a halfed version of the recipe that we've found doesn't work as well.

Second: Sauce

For the sauce, we first lightly coated the pizza dough with olive oil. Make sure to get the oil over the entire crust and especially to the edges of the pizza where the sauce won't be. On top of the oil, put pesto sauce. I was introduced to this stuff by a friend that I lived with in France who is Italian. She did not skimp on her pesto sauce when she was making meals, and you shouldn't either!!! Slather it on there! This big jar of it from Costco was perfect!

Third: Tomatoes and Cheese

We just used one Roma tomato for this pizza. You could use more if you like. We just have some people in our family who told me that they were just going to pick them off, so I went easy on the tomatoes.

For the cheese, we used fresh mozzarella. Any brand will do, but we used the Italian brand, Bel Gioioso. Just break it off with your fingers, and put it in large clumps all over your pizza.


Fourth: Bake and Basil

Bake according to the instructions on the recipe. When you pull it out of the oven, let it cool for a couple of minutes and then put on the fresh basil leaves. The first time I tried it, I put the basil leaves on before it cooked, and they came out all shriveled and burned and not tasty! So remember: bake, then basil!!


 Fifth: Eat


Here is our finished product!

Yours will look just as lovely, I promise!!!

Now get to baking!!

#TBT Travel Post: Toronto

I am fully aware that the whole #tbt thing is for instagram, facebook, etc. But I'm bringing it to the blogging world because I am in love with this place and forgot to blog about it. While we were living in Pennsylvania, we decided to go to Toronto for our anniversary weekend (quite a while ago now...). It was such a great weekend! We went to a bunch of thrift shops and markets, fun foodie stalls, and a SHOE MUSEUM!Vintage lovers and hipsters--Toronto is the place for you!


  Are you my mummy? (nerdy Dr. Who reference for my fellow fans)


 The Bata Shoe Museum was awesome! Four floors of heaven. 


One Week of Green Smoothie Recipes

Brandi and I have been trying to be more healthy lately (Brandi's better half, Bobby, and our brother Connor are also along for the ride). We got a pass to the gym a few months back and have been fairly consistent at going. "Consistent" as in one to two times a week. We're working on it.

We've slowly realized that we not only have to exercise, but we also have to eat healthy if we're planning on seeing any results. This is the worst! I've always exercised so that I could eat anything that I wanted!!!! After a fair amount of time distressing, binge/guilt eating, yo-yoing, etc. we've found a fun, easy way to eat a little bit better on our baby-step path to healthier lives :)

What is that magical first step do you ask? Green smoothies!! We spent a long time scouring Pinterest for the best recipes and methods. But, as we all know, Pinterest can be overwhelming... We got bored, kept making excuses, and never got around to actually making the smoothies. That is, until we came across this genius idea that is perfect for lazy people (like us). Here's the million dollar idea: Green smoothie bags!! Here's what we did:

Our goal was to make a smoothie for each member of our family (6 people total) for one week or 56 smoothie bags. (I think. Math is not my thing.)

We purchased and prepped a bunch of fruit and veggies! We picked a few of our favorites, as well as some of those things that you know are healthy for you and that you should eat, even if you don't understand how anyone could have ever discovered that it should be eaten by humans (kale-we're talking to you). Our total cost was about $55. Sounds a little pricey, but if you think of how much a Jamba Juice costs, this isn't that bad. We figured this comes out to like 80 cents per smoothie. 


Next, we created an assembly line. Looks slightly dysfunctional, but there was a method to our madness. Do whatever works for you. This is a judgement free zone.


 Finally, we just started making up smoothies. We didn't follow a recipe. We just put fruits together that sounded like they went together (super technical, we know). We then added the gross, healthy stuff (cucumber, carrot, kale, spinach) into each of them, desperately hoping that the fruit would win in the flavor battle. 

Here are the recipes that we came up with:


Menu:


Day 1
Green grapes, pineapples, cucumber… surprises (random fruit left over at the end)
Day 2
Green grapes, kiwi, blueberries, raspberries, apples, spinach
Day 3
Strawberries, banana, kiwi, spinach
Day 4
Cucumbers, carrots, pineapple, strawberries, spinach and kale
Day 5
Mango, apple, pineapple, cucumber, spinach and kale
Day 6
Blueberries, strawberries, raspberries, bananas, carrots, spinach, kale
Day 7
Green grapes, pineapple, kiwi, cucumber, spinach, kale

Here is what we ended up with:


We labeled each bag, threw them in the freezer and started making them each day. It was as easy as adding water!! :)

Results: 

- A quart ziplock bag is big enough for two people. We had a lot of smoothie bags left over after a week because each bag made a lot of smoothie. We probably ended up making closer to 70 servings of smoothie.  Some days I would share my smoothie with both of my parents, and I still had a giant cup to drink. 

- All the smoothies weren't awful tasting, however Day 5 and Day 7 were legitimately delicious!! That combination of flavors totally masked any unpleasant flavor from the vegetables. They were also a pretty color, which is not something we can say for all of the other smoothies...

See look how pretty:


- Although we've been slacking on the gym, we all feel pretty great. One benefit of green smoothies is that they seem to curb hunger. I don't feel the need to eat as much as I used to. Another plus: I don't feel as bad when all I eat is cereal and peanut butter because I know that I'm getting my servings of fruits and vegetables.

So, in conclusion, I'm sure a dietitian would be horrified by our health habits, but this is something that we've found that works for us lazy, busy people. I hope it works for you too! So throw out the recipes and become a green smoothie prepper. 


Related Posts Plugin for WordPress, Blogger...